January 29, 2018

Bath Bombs 101 by SpiceySuds


There are a few challenges many people experience when making bath bombs (and from watching numerous videos to learn, they share their experiences making bath bombs or bath fizzies) such as, the bath bombs seem to react/respond to moisture that is in the air such as
  • the humidity in the house
  • if it is or has been raining outside
  • if there is not enough or too much liquid mixture - which can cause them to crumble, crack, and expand and activate the chemical reaction of the sodium bicarbonate and citric acid.
It is a learning experience and many long time bath bomb makers still experience issues once in a while; it does go with the territory.

In Soap Queen’s article (“Bath bomb questions and answers” ) she briefly covers 16 questions. I think it is well worth the read and it will give you an idea of how others make their bath bombs. YouTube is a resource you can use.

However, I will share some things I have learned. There are many recipes that are on the web and that people give on their videos, and the majority of them do not use polysorbate 80. If you do not use polysorbate 80 it will feel like you are sitting in an oil slick- at least that is how it felt to me. Polysorbate 80 disperses the oil so it won’t feel like that, and it won’t leave a ring around the tub.

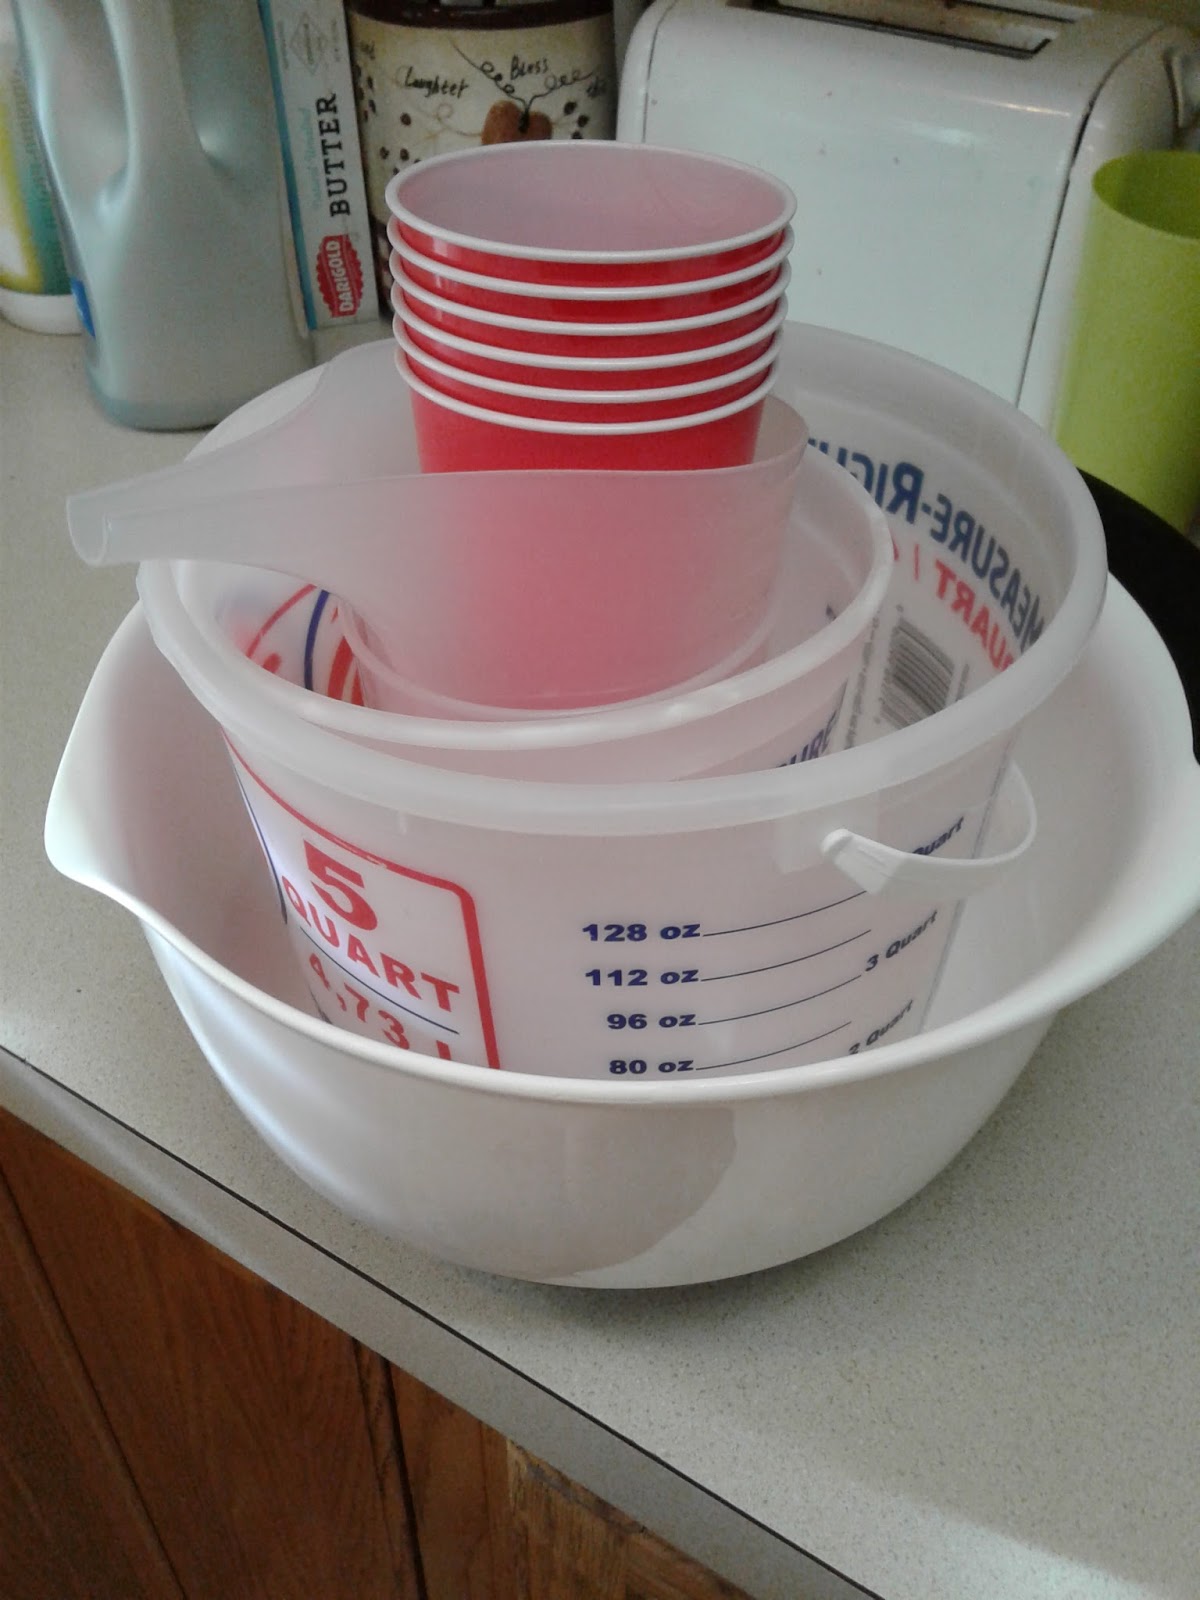
Mixing bowl, strainer, fragrance oil, frother,
fondant colorant, spatula, and recipe book.

One good recipe is:
3 Cups Baking Soda
2 Cups Citric Acid
½ Cup Epsom Salt
3 TBS Kaolin Clay
2 TBS Cornstarch
7 TBS Coconut oil or Cocoa Butter
2 TBS Polysorbate 80
4 TBS Frangrance Oil
2 TBS 99% Isopropyl Alcohol

Strain the baking soda, kaolin clay and cornstarch into a bowl (can be the bowl for a Kitchenaide mixer). Add the citric acid and Epsom salt. Whisk the dry ingredients well.


Citric Acid, Kaolin clay, and Epsom salts.

Cornstarch, baking soda, and citric acid

Straining baking soda.
In a mixing bowl or cup melt the oil in the microwave (I do 30 sec burst until melted), then add the other wet ingredients and stir well. Some people will add mica to their dry ingredients, but I have added it to the wet ingredients, stirred well, then poured it into the dry ingredients and mixed thoroughly.

Coconut oil, glycerine, avocado oil,
polysorbate 80 and mixing cup

Melted oil with other blended wet ingredients.

When I use fondant coloring I pour in an extra TBS of oil (which could be castor, sunflower or avocado) in a small cup. Squeeze about a dime size amount and blend with a milk frother, then add to wet ingredients and blend well. Then mix wet ingredients to dry ingredients.

Mixing wet ingredients into dry ingredients.

I feel it is best to use 99% isopropyl alcohol or at least 91% iso alcohol, because when I used witch hazel (as many recipes call for) it activated the citric acid, and that will cause issues with the final outcome. Since bath bombs can be finicky you will probably need to spray the alcohol into your bowl and then place into your molds.

In the beginning I did buy 1 large round metal mold. After a batch or two I bought simple silicone ice cube trays and a silicone round mold that I find better for me and I use those all the time.

The molds I use for bath bombs.

Putting mixture into molds.

Letting the bath bombs dry for a few hours

The best part about making bath bombs for yourself is that if any of them crack/crumble etc, you can still enjoy them- it’s only if they have completely activated that they can’t be used.

Enjoy!

SpicySuds

January 24, 2018

It's A Pump House

I first learned of rammed earth in my youth. I read an article about it and was loving the idea. Somewhere I still have the copy of the original article made all those years ago.

Recently I, at last, had the opportunity to build a structure using rammed earth. It was a fun learning experience.

The pump house on my property had become rather dilapidated and in need of replacement. We opted to go with rammed earth since I had always wanted to do it. It is said to do a small project when first learning an earthen building process. This was the perfect one for us.

 The process is pretty simple. Get some dirt and ram it into forms to create solid walls. 😊 After doing a little research we learned we needed a mix of approximately 70% sand to 30% clay. Both of those are in abundance here on my property. We added a little cement and lime to the mix as a stabilizer. The forms were sheets of plywood four feet wide by eight feet long. They were a bit deep but manageable to work with. It took two years of two people working one or two days a month to get the walls done, weather permitting, but it was worth it. A larger crew could have completed it in much less time.


Though it looks rough we are pleased with the result. There is still some finish work to be done on it. It is a solid building that will be put to a variety of uses, not just housing the well. 


January 20, 2018

Part 2: Making Cold-Process Soap (by SpiceySuds)


These are general instructions and general information. Please see the links in this article and in the one I wrote previously for more.

When researching cold-process soap making, you will come across terms that will help if you understand them before making soap. I am going to cover several terms and a post a link to a thorough list.

Glossary of Soap Terms

Additives: Any ingredient added to soap that is not part of the soap itself is considered an additive. Therefore, any ingredient excluding lye, water, and oils/fats/butters are additives. Some examples of additives are colorants, fragrance materials, and preservatives. Additives may include herbs, micas, salt, grapefruit seed extract, excess oils/fats/butters that remain unsaponified, vitamins, clays, etc., (for those that only want to use “Natural” colorants here is a site to check out: Adding Color to Homemade Soap )


Colorants in tote.


Fragrance oils in tote.

-Lye: sodium hydroxide is used for cold process soap. Potassium hydroxide is used to make liquid soap. Lye is a caustic substance, and can and does cause horrible burns. CaseReports (Caution, there is a photo of a caustic burn on a hand at that link that may be disturbing to some people.)


-Saponify/Saponification: the chemical reaction between the lye and fats from the oils that results in glycerin and soap.

-Soap Making Process: Cold Process

Cold process (CP) soap making is the process where lye is dissolved in water to form a solution. The lye-water solution is then added to melted fats and oils and constantly stirred or mixed with a hand blender.


Mixing bowl w-blender, slightly mixed,
after pouring in lye solution.
After trace is detected, scents, herbs, and/or colorants may be added to the soap batter. After trace but before seize, the cold process soap batter is poured into molds.

Molds


More molds.
The molds are usually insulated with blankets or towels. Within 24 hours, the soap batter hardens sufficiently to be removed from the mold and to be sliced into bars. Fresh bars of cold process soap must cure on drying racks for four to six weeks to allow the lye to completely saponify the fats and oils into soap. After four to six weeks of cure, cold process soap should be ready for use and should not contain any lye. This process is referred to as "cold" process soap making because no heat from an external source is added to the soap batter.

-Soda Ash: Soda ash forms when unsaponified lye reacts with naturally occurring carbon dioxide in the air. Soda ash is a harmless, and it's most common on the surface of your cold process soaps, but sometimes soda ash can form throughout the middle of the bars. ... Temperature can also play a factor in soda ash formation.


Soapqueen.com - explaining and preventing soda ash

Soapjam.wordpress.com - removing soda ash efficiently


Trace

Term used to define the moment of cold process and hot process soap making when the soap batter thickens and becomes viscous due to the onset of saponification. Trace is determined when a spoonful of soap batter dribbled back into the soap pot leaves a "trace" and remains visible on the surface. Likewise, trace may be determined when a spoon moved through the soap batter leaves a "trace" or distinguishable trail on the surface of the soap batter.

Many of the soapers on youtube and those that have their own websites or eBooks give their own soap recipes - or you can use soap calculators/lye calculator sites that will help you formulate your own recipe.

On Soapcalc site, under Section 5 “soap qualities and fatty acids,” it lists a few qualities/properties the chosen oils will result in. Iodine is a quality that will show how hard/hardness the soap will be. When you hover the cursor over Iodine on the Soapcalc site, it will show you the numbers 41-70, and the closer you get to 70 the softer your bar will be, and it will dissolve quicker when used. Using a higher amount of coconut oil will get a harder bar, but also may be more drying on the skin. Using a slightly higher superfat percent may help it not be so drying, but it is best not to go above 9 or 10% superfat. Superfat is the percent of oils that will be unsaponified.


I will list three sites that help with formulating soap recipes. Brambleberry’s is the easiest for me when I want to “recalculate” a recipe because if I want to increase my 1lb recipe to a 2lb recipe, all I need to do is put in the figures for my 1lb recipe. At the bottom I use the recalculate to 2lbs, but it is added as 32oz for the oils. It will automatically recalculate the amount of oils as well as lye and water. Distilled water should be used or many, as well as myself, use Aloe Vera juice, though I did use distilled water for the first few months when I began.


Container I used for aloe juice
(which I added after I poured and stirred in the lye),
Soapcalc

To cover a bit more on the utensils that are needed:
  • An accurate digital scale that will measure in both grams and ounces.
  • A stick blender/emulsion blender.
  • Latex/rubber gloves & apron.
  • Mixing bowls/cups.
  • Rubber spoons/spatulas/whisks.
  • Soap mold(s). If you use wood molds you’ll need parchment paper or freezer paper to put in the mold unless you have a silicone liner.

Molds

Utensils in the tote where I store them.


More supplies

When mixing lye, no metal other than stainless steel should be used, and plastic should be strong enough that it won’t melt. I have used cottage cheese containers, or plastic containers from Lowes to mix paint in, or plastic laundry detergent containers. I use a plastic drinking cup to measure the lye into, then pour it into the liquid being used (in the cottage cheese container or other container) and mixed/stirred with a rubber spoon. I then rinse out the plastic cup with warm water. Since lye is a drain cleaner, I rinse the cup well with warm water and then let the water run in the sink/down the drain thoroughly.


Bucket I keep the lye in, sitting by my scale
with a cup I use to dip out the lye.
After choosing a recipe, you can measure your solid oils/butters into a container and your liquid oils in another container (this is what I do but not necessarily the way it must be done). I mix the lye solution first and wait for the temp to come down to around 100-110 degrees, and then I start to melt the hard oils/butters in the microwave.


Pre-measured hard oils and liquid oils.
It seems most soapers like to “soap” at “room” temp and I also like to soap at a lower temp- 90-100 degrees. It does seem to matter what oils you use, as well as how much blending is done. If FO or EO is used each can affect how quickly the batter will thicken.

One Recipe I use is: 32oz batch
Castor oil 2oz
Coconut oil 6oz Distilled water 10.6oz
Olive oil 14oz Lye 4.3oz
Rice Bran oil 5oz
Shea butter 2oz
Sunflower oil 3oz Fragrance oil 2oz

I usually wipe off the spatulas, blender, etc. I use and wipe out the mixing bowls/cups with paper towels and a wet washcloth. Throw away the paper towels. I put the wash cloths and any towels I use in a laundry basket, and wash the next day-it is good to wait a day to wash the dishes and cloths/towels.
The cup I mixed blue mica in.


Dishes I have used and put into the sink.


Utensils I have used.
Soap Queen has a good article on soap session clean up.
Soapqueen.com - tips and tricks

Once you have chosen a recipe and have the needed utensils/containers/molds- then let the fun begin.

Now, let's go and make soap!

SpiceySuds


More pictures 


Soap in mold.

Soap in silicone mold.
Notice that I put the mold in a holder
to keep the mold from bowing outward.


Pink and white soap in mold.


Soap about to be sliced.


Sliced soap.